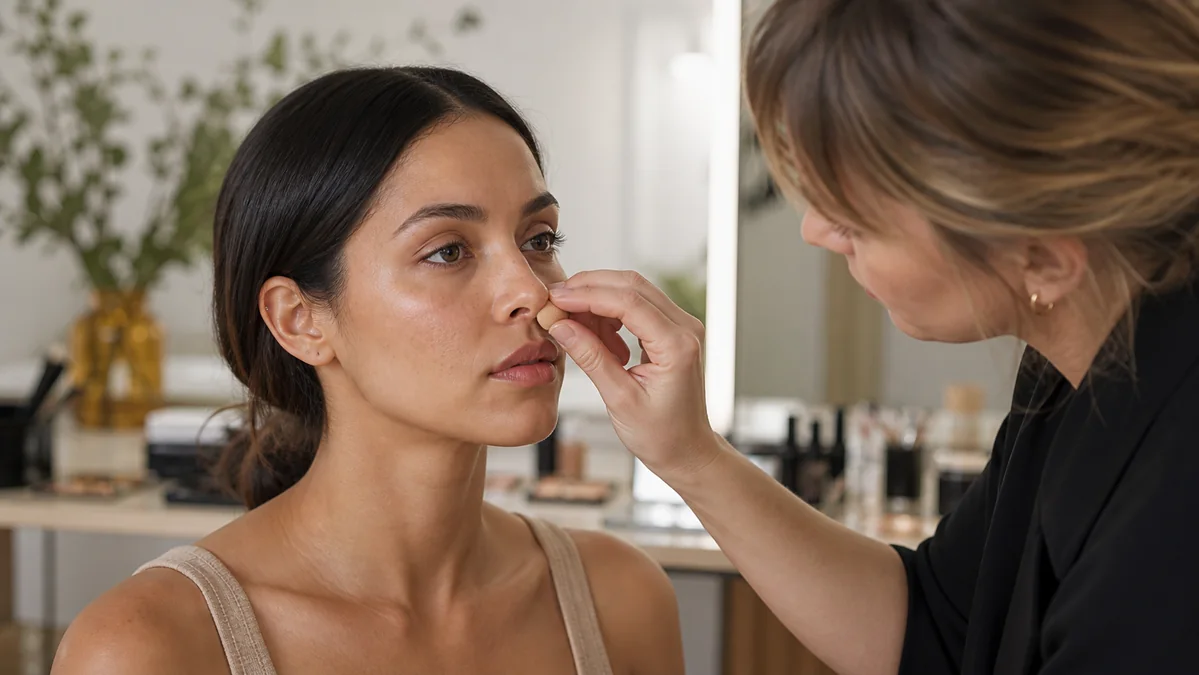
Foundation separates on the nose when the layers beneath and above it stop behaving like one film. Oil and sweat can break through, damp skincare can interfere with adhesion, thick base can gather around texture, and glasses or tissues can lift everything mechanically.
Start with subtraction: use less skincare and less foundation on the nose, allow each layer to settle, and test that routine before buying a new primer or base.
The goal is not an airbrushed nose. Real skin has pores and movement. Success means the base fades evenly instead of splitting into obvious islands.
Identify the failure pattern
Check the area in daylight before touching it:
- shiny gaps with intact makeup nearby suggest oil or sweat;
- small rolled crumbs suggest pilling between layers;
- product gathered in pore edges suggests excess base or powder;
- clean rubbed strips suggest glasses, masks, tissues, or touching;
- flakes beneath foundation suggest a dry or irritated surface.
Take one photo at application and another when separation appears. Change only one variable the next day so the result is interpretable.
Prepare the center of the face differently
Cheeks and nose do not always need the same moisturizer amount. Apply your usual skincare, but use a thinner layer over the T-zone when it is already comfortable. Keep facial oils and rich balms away from the nose during this test.
If sunscreen is part of the morning routine, do not reduce the labeled protective amount to improve makeup. Instead, simplify the products underneath, choose a sunscreen you can wear consistently, and allow it to set before makeup.
Give layers time to settle
Applying foundation over visibly wet skincare makes the result unpredictable.
- Finish skincare and sunscreen.
- Wait until the surface no longer feels wet or easily moves under a fingertip.
- Press away obvious excess only if needed; do not rub off sun protection.
- Apply makeup to the cheeks and forehead first.
- Use the small amount left on the tool for the nose.
A fixed clock time is less useful than observing the finish because formulas and room conditions differ.

Apply the thinnest useful base layer
Place a tiny amount beside the nostrils or on areas of redness, then press rather than repeatedly swiping. A damp sponge can sheer coverage; a small brush can target redness without coating the whole nose.
Let the first layer settle before deciding whether a second dot is necessary. Thick foundation cannot flex with oil, facial movement, and friction as gracefully as a thin layer.
Test primer instead of assuming it helps
Primer is optional. Test the base alone on one ordinary day. On another day, use a very small amount of primer only where separation occurs, then keep every other step the same.
If the primer creates rolling, patchiness, or longer dry-down, remove it from the routine. Product marketing terms such as “hydrating” or “matte” do not guarantee compatibility with the exact moisturizer, sunscreen, and foundation underneath.
Set only the area that needs it
Use a clean small brush or puff to press a light amount of powder onto the center and sides of the nose. Do not repeatedly sweep. Wait before adding more; powder can look smooth initially and become heavy when oil reaches it later.
Setting spray is not required and should not be used to soak the face. If you test one, change nothing else and follow its directions.
Control friction during wear
Clean glasses nose pads and let skincare settle before putting glasses on. Avoid rubbing with tissues; blot sweat or oil with gentle pressure. Keep phone screens, hands, masks, and reusable tools clean where they contact the face.
AAD guidance for acne-prone skin emphasizes gentle cleansing and avoiding repeated touching or scrubbing. Those habits also reduce unnecessary disruption of makeup, though they do not guarantee a particular cosmetic finish.
Repair separation without stacking
When makeup has already split:
- Blot oil or sweat with a clean tissue.
- Press the lifted edges together with a clean sponge or fingertip.
- Add one pinpoint of concealer only if coverage is missing.
- Press a trace of powder over the repaired area.
- Stop before the patch becomes thicker than the surrounding base.
Adding foundation directly onto oil usually creates a visibly layered patch.
Run a four-day comparison
| Day | Variable | Keep unchanged |
|---|---|---|
| 1 | Half the usual nose moisturizer | Sunscreen, base, tool, powder |
| 2 | Longer dry-down | Day 1 product amounts |
| 3 | Less foundation | Skincare and wait time |
| 4 | Targeted powder or primer test | All successful earlier changes |
Photograph at the same time and lighting. Keep the simplest combination that improves wear.
Clean the tools and check product condition
Wash reusable sponges and brushes on a suitable schedule and let them dry completely. Replace products that smell unusual, change texture or color, or exceed the manufacturer’s recommended period after opening. FDA cosmetic safety guidance recommends keeping containers clean and stopping products that cause a problem.
Persistent burning, swelling, hives, broken skin, or a worsening rash is not a makeup-wear issue. Remove the products gently and seek qualified medical advice.
Keep the result realistic
Some shine and fading on a moving, oil-producing area is normal. A successful routine needs fewer midday repairs and fails evenly. Once you find it, resist adding another serum, primer, powder, and spray at the same time.